Affiliate disclosure
Retailer links appear only after the exact configuration, seller, price context, warranty, and availability have been checked. Any compensated relationship will be clearly disclosed.
What works
- Strong fit for the workload described in this review.
- Spec table and alternatives make the buying tradeoffs easier to compare.
- Affiliate CTA stays gated until product details are verified.
Watch-outs
- Exact price, stock, cooling, PSU, and warranty still need final verification.
- May not be the best value if a rival tower has stronger standard parts.
- Upgrade path depends on the exact motherboard, case, and power supply.
Linux readiness
Linux readiness pending driver, firmware, and vendor-support checks.
Power and cooling
Power, cooling, thermals, acoustics, and PSU headroom still need exact-configuration verification.
Before we recommend it
Verification Gates
Price and stock should be rechecked against the exact retailer SKU before any buy button is published.
- Motherboard socket
- BIOS support
- RAM clearance
- GPU length
- PSU connectors
- Case airflow
- Windows license
How to Build a Gaming PC (2026 Beginner’s Guide)
Building your first gaming PC can seem intimidating, but the process is far easier than most people expect. Modern components are designed to work together, and with a little planning, most builders can successfully assemble their first system in a single afternoon.
The key is understanding how the major components work together before spending money. Choosing compatible parts, assembling them in the correct order, and performing a few critical setup steps after the first boot can save time, frustration, and unnecessary expenses.
This guide walks through the entire process from planning and parts selection to assembly, Windows installation, driver updates, and system testing.
Quick Verdict
The best gaming PC is not necessarily the most expensive system or the one with the longest specification sheet. The right build matches your monitor, games, workload, budget, upgrade goals, and long-term expectations.
Before buying parts, define your gaming goals and build around them. Most mistakes happen during the planning phase rather than during assembly.
Best Starting Points
Plan the Target First
Before selecting components, determine:
- Monitor resolution
- Refresh rate
- Primary games
- Available desk space
- Noise tolerance
- Budget
- Upgrade plans
A gaming PC built for 1080p esports titles will look very different from a system designed for 4K gaming or local AI workloads.
Buy Around the GPU
For most gaming PCs, the graphics card should drive the rest of the build.
The GPU influences:
- CPU selection
- Power supply requirements
- Case size
- Cooling needs
- Monitor choice
Avoid selecting every other component first and trying to fit the GPU into the remaining budget.
Build in Stages
A simple assembly order reduces mistakes:
- Prepare the case
- Install CPU
- Install RAM
- Install SSD
- Mount CPU cooler
- Install motherboard
- Install power supply
- Connect cables
- Install graphics card
- Perform first boot
Following a structured process prevents missed connections and troubleshooting headaches.
Verify Before Daily Use
After the first successful boot:
- Update BIOS if necessary
- Install chipset drivers
- Install GPU drivers
- Enable EXPO or XMP memory profiles
- Check temperatures
- Run stability tests
Skipping these steps can leave performance on the table.
Who This Guide Is For
This guide is designed for:
- First-time PC builders
- Gamers planning a new system
- Budget-conscious buyers
- DIY enthusiasts
- Parents helping children build a PC
- Upgraders replacing older systems
If you’re researching parts compatibility or planning your first build, this guide will help you avoid common mistakes.
Understanding the Major Components
Graphics Card (GPU)
The graphics card is the most important component for gaming performance.
The GPU handles:
- Game rendering
- Ray tracing
- Upscaling technologies
- High-resolution gaming
For most gaming builds, this should receive the largest share of the budget.
Processor (CPU)
The CPU manages game logic, background tasks, operating system functions, and productivity workloads.
A balanced CPU prevents bottlenecks while avoiding unnecessary overspending.
Motherboard
The motherboard connects all components together.
Key considerations include:
- Socket compatibility
- Memory support
- Expansion options
- Storage connectivity
- BIOS features
Memory (RAM)
Recommended minimums:
- 16GB for entry-level gaming
- 32GB for modern gaming and multitasking
Memory is relatively inexpensive compared to the cost of upgrading later.
Storage (SSD)
Modern gaming systems should use SSD storage.
Recommended capacities:
- 1TB minimum
- 2TB preferred
Large game installations can quickly consume available space.
Power Supply (PSU)
The power supply is often overlooked but remains one of the most important components.
Choose:
- Reputable brands
- Appropriate wattage
- Modern connector support
- Efficiency certification
Never compromise on PSU quality.
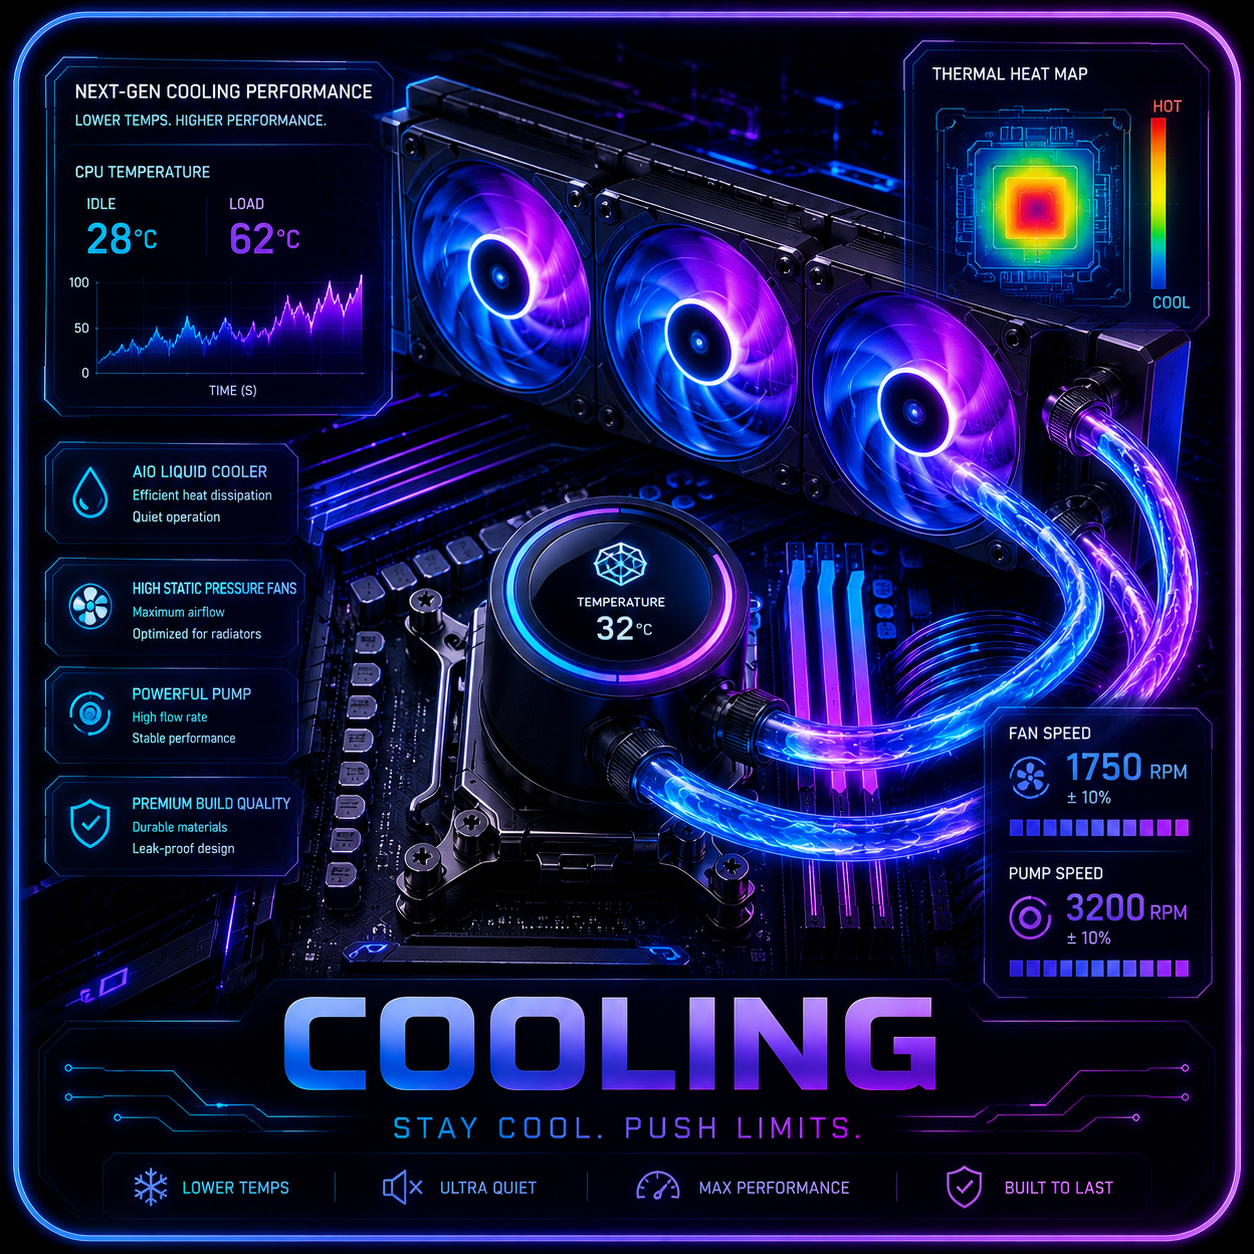
Case and Cooling
Good airflow helps maintain:
- Lower temperatures
- Better performance
- Reduced fan noise
- Improved component lifespan
A well-ventilated case often matters more than aesthetics.
What We Verify Before Recommending Parts
Motherboard Socket Compatibility
Ensure the CPU and motherboard use the same socket platform.
Examples include:
- AMD AM5
- Intel LGA platforms
Compatibility should always be confirmed before purchasing.
BIOS Support
Some motherboards may require BIOS updates to support newer processors.
Always verify:
- CPU support lists
- Motherboard revision
- Available BIOS updates
RAM Clearance
Large CPU coolers can interfere with memory modules.
Check:
- Cooler specifications
- RAM height
- Motherboard layout
GPU Length
Graphics cards continue to grow in size.
Verify:
- Maximum GPU clearance
- Front radiator placement
- Drive cage positioning
Power Supply Connectors
Modern GPUs often require specific connectors.
Confirm:
- PCIe power requirements
- Included cables
- PSU compatibility
Case Airflow
Look for:
- Front intake ventilation
- Exhaust fan support
- Radiator compatibility
- Cable management options
Windows Licensing
Windows is frequently forgotten during budgeting.
Factor in:
- Licensing costs
- Installation media
- Future upgrades
Step-by-Step Gaming PC Assembly
Step 1: Prepare Your Workspace
Gather:
- Phillips screwdriver
- Anti-static precautions
- Good lighting
- Component boxes
- Manuals
Working slowly prevents mistakes.
Step 2: Install the CPU
Carefully align the processor according to the motherboard markings.
Never force the CPU into place.
Step 3: Install RAM
Insert memory modules into the recommended motherboard slots according to the manual.
Listen for the locking clips to engage fully.
Step 4: Install SSD Storage
Most modern systems use M.2 NVMe drives.
Secure the drive using the included mounting hardware.
Step 5: Install the CPU Cooler
Follow the cooler manufacturer’s instructions carefully.
Proper mounting pressure is essential for thermal performance.
Step 6: Install the Motherboard
Secure the motherboard to the case using the correct standoffs.
Never allow the board to contact the case directly.
Step 7: Install the Power Supply
Mount the PSU and route cables before installing the graphics card.
Cable planning now saves time later.
Step 8: Connect Front Panel Cables
Connect:
- Power switch
- Reset switch
- USB ports
- Audio headers
The motherboard manual is your best reference.
Step 9: Install the Graphics Card
Seat the GPU firmly into the PCIe slot and secure it with the case screws.
Connect all required power cables.
Step 10: Perform the First Boot
Connect:
- Monitor
- Keyboard
- Power
Then power on the system and enter the BIOS.
After the First Boot
Enable EXPO or XMP
Memory often runs below rated speed by default.
Enabling EXPO or XMP allows RAM to operate at its intended performance level.
Install Windows
Install Windows using official installation media.
Follow on-screen setup instructions.
Install Drivers
Update:
- Motherboard chipset drivers
- Graphics drivers
- Wi-Fi and network drivers
- Audio drivers
Updated drivers improve stability and performance.
Check Temperatures
Monitor:
- CPU temperatures
- GPU temperatures
- Fan operation
Unexpectedly high temperatures should be addressed immediately.
Test Stability
Run basic stress testing and gaming sessions before considering the build complete.
Common Mistakes New Builders Make
Overspending on RGB
Performance components should take priority over lighting effects.
Buying an Undersized Power Supply
Always leave room for future upgrades.
Ignoring Airflow
Poor cooling can reduce performance and component lifespan.
Forgetting Windows Costs
Many budgets fail to account for operating system expenses.
Not Enabling EXPO or XMP
Memory performance can be significantly reduced without proper configuration.
Skipping Driver Updates
Updated drivers often resolve performance and stability issues.
Frequently Asked Questions
Is building a gaming PC difficult?
Most first-time builders find the process easier than expected when following a structured guide.
How long does it take?
Most beginners can complete a build within several hours.
Is it cheaper to build a PC?
Often yes, although promotions and prebuilt discounts can sometimes narrow the gap.
How much RAM should I install?
32GB is increasingly becoming the recommended target for modern gaming systems.
Do I need a liquid cooler?
Not necessarily. Many air coolers provide excellent performance.
Should I update the BIOS?
Only when necessary and after reviewing motherboard documentation.
Related Reading
- Best CPUs for Gaming
- Best GPUs for 1440p Gaming
- SSD Buying Guide
- Budget Gaming Builds Under $1,500
- Best Gaming PCs 2026
- AI Workstation Buying Guide
Final Thoughts
Building a gaming PC remains one of the most rewarding projects for technology enthusiasts. The process offers complete control over component selection, future upgrades, aesthetics, and performance.
By planning around your gaming goals, verifying compatibility before purchasing, and following a structured assembly process, you can build a system that delivers years of reliable performance while avoiding many of the mistakes that cost new builders time and money.
Editorial Status: Draft prepared June 2026. Product links, exact SKUs, pricing, availability, and retailer call-to-actions remain pending verification.
Publication Note: This article should serve as the primary support page linking to GPU recommendations, CPU buying guides, SSD guides, and budget build articles throughout Ultimate Rig Guide.
Affiliate Status: Retailer links should only be added after verifying product specifications, seller reputation, stock availability, warranty coverage, return policies, and competitive alternatives.
Bottom line
Who Should Buy It?
Buyers who match the workload, budget, and upgrade assumptions in this guide.
Use this review as a buying map: compare fit, specifications, warranty, thermals, pricing context, and alternatives before choosing a retailer.
Update history
- 2026-06-15 - Product details and verification status reviewed.
Help improve this page
Found A Better Lead Or Real-World Detail?
Send a qualified product lead, correction, owner note, or review request. Strong submissions include exact model numbers, URLs, price context, workload, warranty notes, and what should be verified before publication.
Reader discussion
0 Comments
Add a correction, owner note, compatibility warning, or real-world buying context. Useful comments may help shape future updates, but private order details and account information should stay out of public discussion.